Your kitchen backsplash does double duty—it shields your walls and brings a bit of personality to the space. But when tiles crack, grout starts crumbling, or whole sections come loose, you’ve got to figure out how you’re going to handle it.
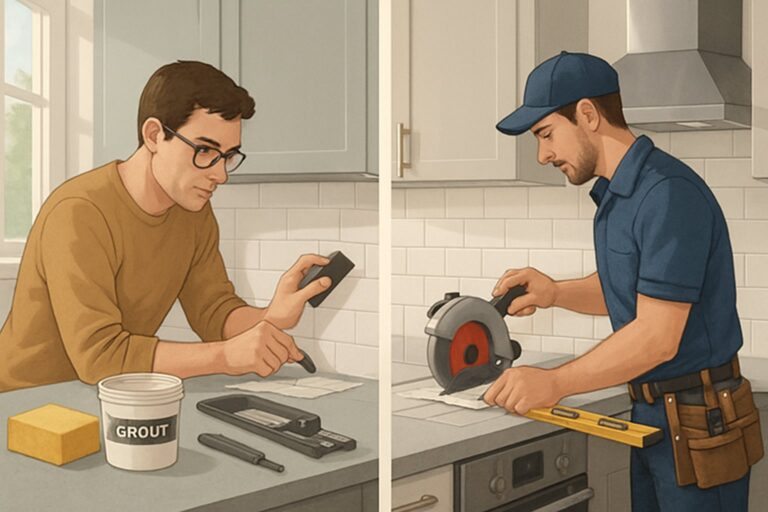
Simple repairs like swapping out a few tiles or patching up small grout cracks? Most folks can tackle those themselves. But major damage or anything structural? That’s when you want professional help.

The trick is figuring out what kind of damage you’re actually dealing with. Small chips, a loose tile here or there, or some ugly grout? Most homeowners can handle that with a few basic tools.
But if you spot water damage behind the tiles, have to mess with electrical outlets, or see a bunch of tiles coming off, that’s a whole different ballgame. You’ll want an expert for those situations.
Need a Home Fix – Emergency or Routine?
From leaks and no-heat nights to simple tune-ups, our 24/7 hotline connects you with trusted local pros in minutes.
Key Takeaways
- Loose tiles and small grout cracks? Usually safe for DIY with some basic tools.
- Major stuff like water damage or anything structural—definitely call a pro.
- Messing up the repair can lead to big bills and even safety issues.
Understanding Kitchen Backsplash Damage
Backsplashes put up with a lot—moisture, heat, and all sorts of cleaning products. Over time, that stuff wears them down and causes different types of damage.
Spotting these issues early really helps. If you know what’s going on, you can make better decisions about what to fix and how.
Common Types of Backsplash Damage
Water damage is probably the most common headache. You’ll see dark spots or streaks on the tiles and grout—that’s discoloration.
In damp corners, mold and mildew sneak in, leaving black or green patches that just won’t scrub away.
Tiles can crack, chip, or come loose. Sometimes hot pots or pans cause cracks—thermal shock is real. Other times, someone just drops a heavy spatula and chips the edge.
Grout deterioration is another big one. If the grout lines start to crack, crumble, or pull away, water finds its way behind the tiles.
Sometimes, the adhesive just gives up. Poor installation or old age makes tiles pop off or slide down the wall—pretty annoying.
Painted backsplashes have their own issues. Steam and cleaners can make paint bubble, peel, or fade. Not much you can do except touch it up or repaint.
How Damage Impacts Kitchen Functionality
When water sneaks behind your backsplash, you’re in for trouble. It can soak into the wall and cause all sorts of chaos.
Mold is more than just gross—it’s a health risk, especially if you have allergies or asthma. In a humid kitchen, it spreads fast.
If water gets into drywall or wood framing, you’ll see rot and warping. That’s not just cosmetic; it can mean expensive repairs down the road.
Cracked grout and loose tiles aren’t just ugly—they trap food gunk and bacteria. That’s not great for kitchen hygiene.
Decreased home value is another downside. Visible damage and hidden moisture problems scare off buyers. Nobody wants to inherit a mess—just ask any real estate agent or check out this backsplash damage warning.
Identifying Causes of Backsplash Issues
Poor installation causes a lot of headaches. If the edges aren’t sealed right, water gets in. Sloppy adhesive work? Tiles won’t stay put for long.
Leaky plumbing—whether it’s the sink, faucet, or hidden pipes—can quietly cause water damage over time. Even tiny drips add up.
Bad ventilation keeps steam and moisture hanging around. That just encourages mold and makes materials break down faster.
Everyday cooking takes a toll too. Oil splatters, steam, and harsh cleaners all chip away at the finish and grout.
Houses settle as they age, and that movement can crack rigid tile or stone. Expansion and contraction from temperature swings just make things worse.
Assessing the Need for Repair or Replacement
So, does your backsplash just need a quick fix, or is it time to rip it out and start fresh? Look for certain warning signs and try to figure out how deep the damage goes.
The bigger the problem, the more likely you’ll need to replace rather than repair.
Signs Your Backsplash Needs Repair
See dark spots, stains, or mushy areas behind the sink or near the faucet? That’s water damage. Sometimes it even smells musty.
If tiles move when you touch them, or you spot gaps at the edges, the adhesive has failed. Water can sneak in there, too.
Cracked or missing grout stands out as dark lines or empty spaces. Old grout crumbles easily and doesn’t keep water out anymore.
Mold or mildew loves damp grout lines. You’ll see black, green, or brown spots that keep spreading.
Chipped or cracked tiles are obvious, but don’t ignore them. Small chips can turn into big cracks if you leave them alone.
Determining the Severity of the Damage
Minor damage looks like a couple of cracks in the grout, a loose tile or two, or some surface stains. Usually, it’s just a few tiles and hasn’t reached the wall.
Moderate damage means you’ve got several loose tiles, bigger grout gaps, or water stains spreading over a larger area. The wall behind might feel a little soft in spots.
Severe damage is when the drywall feels spongy or crumbles if you press on it. Water’s gotten behind lots of tiles and started breaking down the wall structure.
| Damage Level | Signs | Typical Repair |
|---|---|---|
| Minor | 1-2 loose tiles, small grout cracks | Regrout, replace individual tiles |
| Moderate | Multiple loose tiles, water stains | Partial tile replacement, wall patching |
| Severe | Soft drywall, widespread water damage | Complete replacement needed |
When Replacement Is Necessary
If the wall behind the backsplash is crumbling or feels soft, it’s time for a full replacement. You’ll need to cut out the damaged area and rebuild it from scratch.
If more than 30% of your tiles are loose or busted, just replacing a few won’t cut it. At that point, it’s almost as expensive as starting over—and looks a lot better, too.
Homes from before 1980 sometimes have asbestos tiles. If that’s the case, you need a pro to remove them safely.
And if you’re updating your kitchen style, a full replacement usually makes sense. Mixing new and old tiles rarely looks right.
When Kitchen Backsplash Repair Is a DIY Project
Got a single cracked tile, worn-out grout lines, or a loose tile in an easy-to-reach spot? You can probably handle that on your own. These fixes just need some patience and a few basic tools.
Minor Tile Cracks and Chips
Small cracks and chips in ceramic or porcelain tiles are great for DIYers looking to build some confidence. As long as the damage doesn’t go all the way through the tile, you can usually patch it up.
For hairline cracks, grab some ceramic tile repair paste. Clean the area, spread the paste with a putty knife, and try to match the color as best you can.
Chipped tiles? Two-part epoxy filler does the trick. Mix it up, dab it on with a toothpick or tiny brush, and let it set.
Once it’s dry (give it a day), sand it smooth with fine-grit sandpaper. Go easy so you don’t scratch the rest of the tile.
Color matching matters if you want the repair to disappear. Bring a sample to the store or snap a clear photo in daylight. Most repair kits come in common tile colors, but sometimes you’ve got to improvise.
Wondering if you should try it yourself? Here’s when DIY makes sense:
- Crack is less than 2 inches long
- It’s just on the surface
- No water damage behind the tile
- Tile is still stuck firmly in place
Re-Grouting and Sealing
Old grout looking rough? You don’t have to rip out the whole backsplash—just refresh the grout. It’ll look way better and protect against water, too.
First, use a grout removal tool or oscillating multi-tool to get rid of the old stuff. Go slow so you don’t chip the tiles. Vacuum out any loose bits.
Mix up some new grout—follow the instructions. Use unsanded grout for narrow joints (less than 1/8 inch), or sanded grout for wider gaps.
Spread the grout with a rubber float, holding it at a 45-degree angle. Push it firmly into the joints. Work in small areas, maybe 3 square feet at a time.
Wipe off extra grout with a damp sponge after about 15-20 minutes. Rinse your sponge often, but don’t pull grout out of the joints.
Wait a day or two (sometimes three) before you seal the grout. Use a small brush or applicator bottle for accuracy. Grout sealer keeps stains and water out.
Re-seal grout lines every year or two, especially near the sink. Those spots take the most abuse and need extra protection.
Replacing Small Sections of Tile
DIY homeowners can replace single tiles or small groups of damaged tiles if they’re patient and have the right approach. This works best when the replacement tiles match the old ones perfectly.
Remove damaged tiles by drilling holes in the grout lines around them.
Use a grout removal tool to clear out all the old grout and adhesive.
Clean the wall surface thoroughly before installing new tiles. Scrape off any leftover adhesive, and make sure the area is level and dry.
Spread tile adhesive with a notched trowel that fits your tile’s thickness.
Press the new tiles in firmly. Pop in tile spacers to keep the gaps even.
Check that the new tiles sit flush with the existing ones. If needed, tap gently with a rubber mallet.
Wipe away any extra adhesive from the joints right away.
Best candidates for DIY tile replacement:
- 1-3 tiles in easy-to-reach spots
- Standard ceramic or porcelain tiles
- Straight cuts only (no weird shapes)
- Matching tiles handy
- No electrical outlets in the way
Wait a full day before grouting. Use the same grouting process as you would for repairs.
Once everything cures, go ahead and apply sealer.
Tools and Materials for DIY Repairs
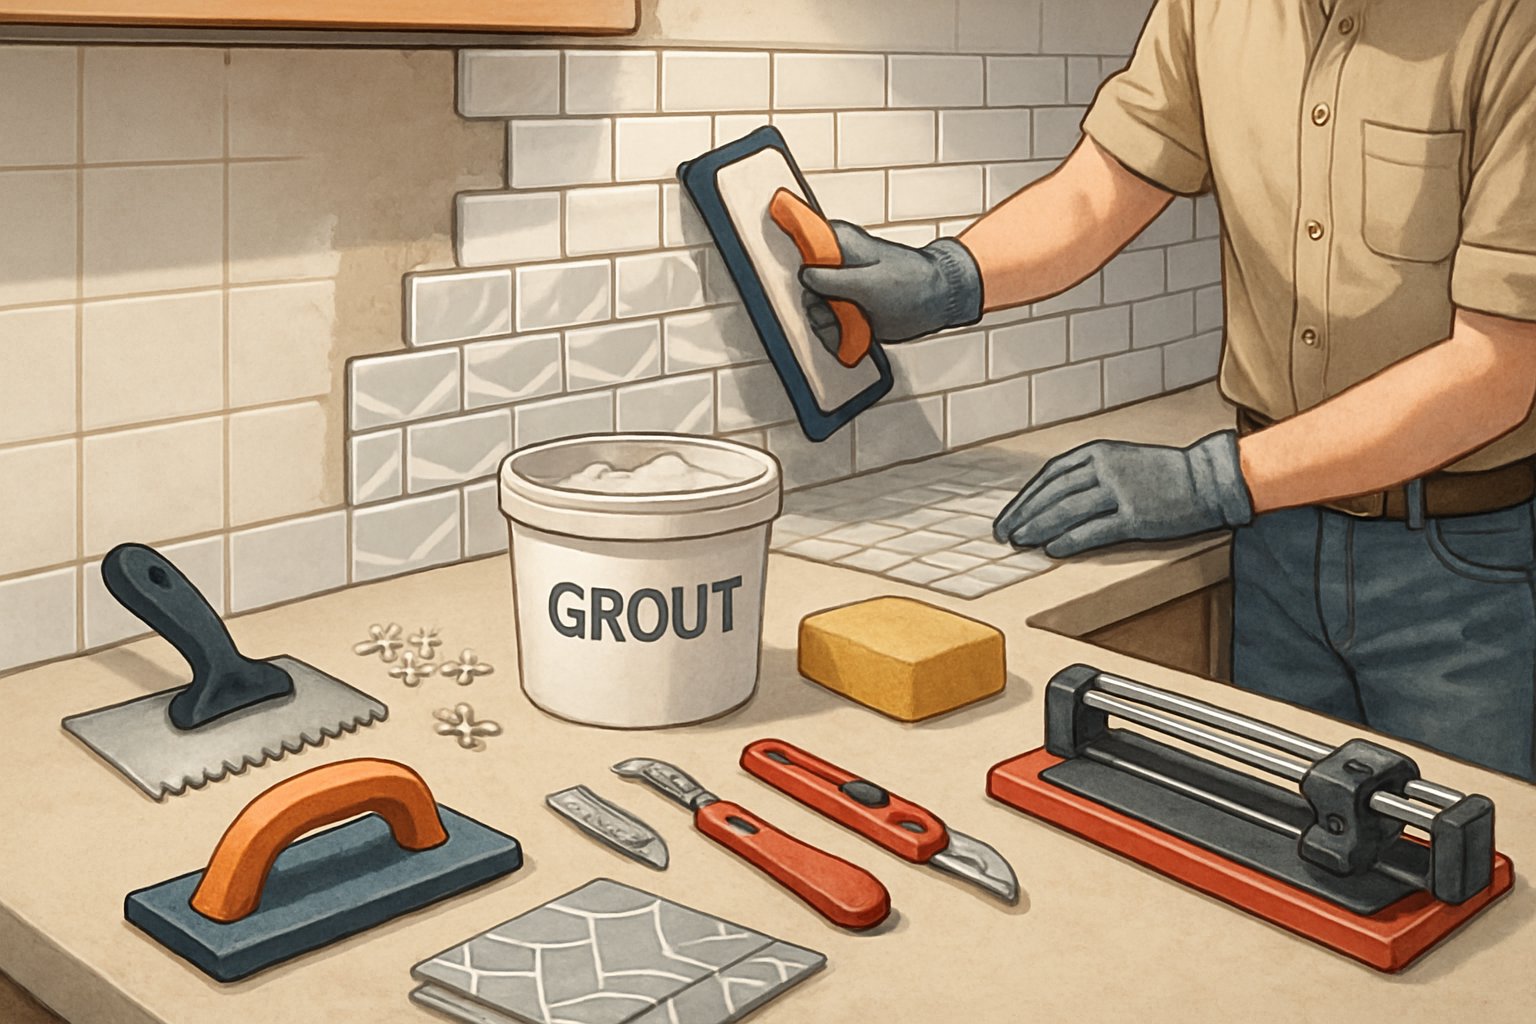
The right tools and materials make backsplash repairs way easier. Quality gear helps you avoid mistakes and can save a bunch of time.
Essential Repair Tools
You really don’t need that many tools for most backsplash fixes. Tile nippers cut small pieces to fit around outlets or edges.
Grout removal tools scrape out old, crumbly grout between tiles.
A putty knife helps pry up loose tiles and scrape away adhesive. Rubber grout floats spread new grout evenly.
Grab a grout sponge to wipe away extra grout from the tiles.
Measuring tape keeps your cuts and spacing on point. A level helps you keep things straight.
Safety glasses protect your eyes from chips and debris.
Utility knives are handy for scoring caulk lines. Caulk guns make applying new caulk around the edges a breeze.
Small buckets are useful for mixing water or cleaning up.
Selecting the Right Materials
Matching your existing materials is key if you want the repair to blend in. Replacement tiles should be the same size, color, and finish as the originals.
Tile adhesive comes in a couple of options. Pre-mixed works for small patches. If you’re tackling a bigger area, powder adhesive mixed with water gives a stronger bond.
Grout needs to match what you’ve already got. Sanded grout is for wider joints—anything over 1/8 inch. Unsanded grout is for skinny gaps.
Caulk should match your grout color. Silicone caulk is best near sinks, counters, and corners since it resists water and mold.
Once the grout dries, slap on some grout sealer to keep stains and moisture out.
Safety Equipment Needed
Don’t skip the safety gear. Safety glasses keep flying tile bits and dust out of your eyes—regular reading glasses aren’t enough.
Work gloves protect your hands from sharp edges and chemicals. Rubber gloves are great when you’re handling grout or adhesives.
Dust masks help filter out tile dust and fumes. N95 masks usually do the trick, but if you have breathing issues, look for something stronger.
Knee pads are a lifesaver if you’re working low. Foam or gel ones are worth it for longer jobs.
Keep a first aid kit nearby—just in case you catch a sharp edge.
When to Call a Professional for Backsplash Repair
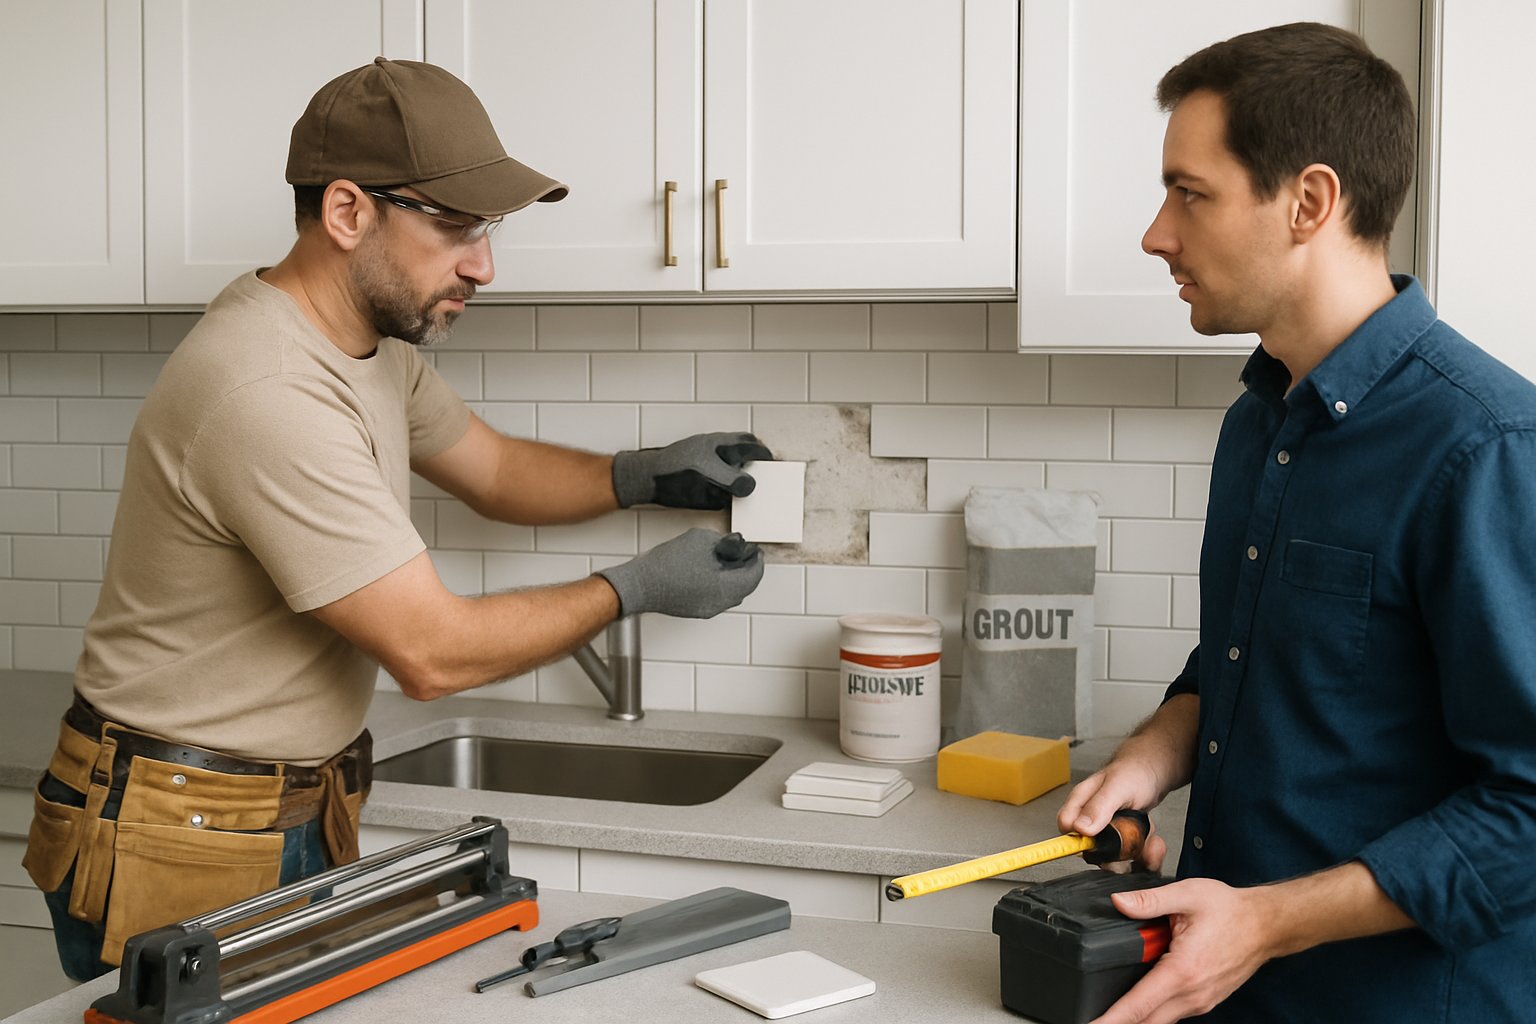
Some backsplash problems really need a pro. Major damage, tricky tile work, or anything involving electrical or plumbing—those can get risky and expensive fast if you try to DIY.
Extensive or Structural Damage
If a big chunk of the backsplash is cracked, loose, or has water damage, call in a pro. When more than a quarter of the area is messed up, it’s usually not a DIY job.
Water damage behind tiles is a real headache. Pros can check for mold, rotted drywall, and other hidden issues with the right tools.
If you see a bunch of loose tiles, it’s probably an adhesive problem. Contractors will pull all affected tiles and prep the wall right, so the fix actually lasts.
Cracked or damaged drywall is a whole other skill set. Pros know how to patch, sand, and prime so tiles stick for good.
Fire or smoke damage? Definitely get an expert to check if the wall is safe and what needs replacing.
Difficult Tile Patterns or Materials
Complicated patterns like herringbone or chevron need precise cutting and placement. Pros have the experience to keep everything lined up.
Natural stone tiles like marble or slate can crack if you aren’t careful. Professionals know the tricks for each type of stone.
Glass and metal tiles are super fragile and pricey. One wrong move can shatter more than you’d think. Installers use special tools for these materials.
Large format tiles (anything over 12 inches) are heavy and tough to handle. You need perfect wall prep and the right adhesive, or you’ll end up with uneven tiles or cracks.
Mosaic sheets with tiny tiles can be a pain to align. Pros can replace individual pieces without messing up the rest.
Electrical or Plumbing Complications
Working near electrical outlets? You want someone who knows how to shut off power and follow local codes. Pros can move or add outlets safely if you need it.
Water line connections behind the backsplash are serious business. If you spot damaged pipes, call a plumber right away to avoid flooding.
Range hood installs mean both electrical and vent work. Professionals make sure everything is up to code.
GFCI outlet requirements change depending on where you live and how old your house is. Pros know when you need upgrades during repairs.
Gas lines near stoves? That’s strictly for licensed professionals. If you even suspect a gas issue, don’t mess around—call an expert immediately.
Choosing the Right Repair Approach for Your Kitchen
Backsplash repairs aren’t all the same. The best approach really depends on cost, time, and your skill level. Quick grout fixes might run under $50 and take a couple of hours, but a big tile replacement job can cost hundreds and probably needs a pro.
Cost Considerations
DIY repairs are by far the cheapest for simple stuff. Grout fixes might only cost $10-30 in materials. Swapping a few tiles? Maybe $50-100 for a small section.
Professional costs depend on what you’re fixing:
- Grout cleaning and sealing: $200-400
- Single tile replacement: $150-250
- Full backsplash replacement: $800-2,500
Labor makes up most of the bill. Doing it yourself can cut costs in half for many jobs.
Hidden costs are sneaky. Tool rentals for wet saws can add $50-100. If your tiles are discontinued, finding matches will cost more. And fixing DIY mistakes? That can end up pricier than just hiring a pro in the first place.
Time Requirements
Simple repairs like touching up grout take 2-4 hours. Cleaning and resealing grout needs a whole weekend, including drying.
Tile replacement is all over the place. Swapping out 1-2 tiles might take 4-6 hours. Removing old adhesive adds time. Sometimes, just finding matching tiles can stall you for weeks.
Honestly, pros work faster. They can finish grout repairs in 2-3 hours. Full tile replacement? Maybe a day or two. DIY can drag on for a weekend or more if you’re new to it.
Don’t forget about drying time. New grout needs at least 24-48 hours before you can use the area. Tile adhesive also needs a full day to set.
Evaluating Your Skill Level
Beginner-friendly repairs are things like grout cleaning, caulk swaps, or fixing a single tile. You just need basic tools and some patience.
Advanced repairs take more know-how. Removing lots of tiles can mess up the wall. Cutting tiles to fit around outlets is tricky. Mixing grout to the right texture? That takes some practice.
Warning signs you need a pro:
- Lots of cracked tiles
- Water damage behind the backsplash
- Electrical outlets need moving
- You can’t find matching tiles
Tool needs matter too. Grout repair only takes simple hand tools. Tile work? You’ll probably need a wet saw, level, and spacers. Buying all that for one project might cost more than just hiring someone.
Frequently Asked Questions
Most homeowners wonder when their backsplash needs work and if they can handle repairs themselves. Damage severity, wall condition, and the materials involved all play a part.
How can I tell if my kitchen backsplash needs repair or replacement?
Water stains around tiles usually mean there’s moisture damage—don’t ignore that. Loose or cracking tiles are a sign the adhesive underneath has failed.
If the grout crumbles or looks dark and stained, it’s time for a repair. A few small tile cracks can be fixed, but if cracks are everywhere, replacement makes more sense.
If tiles flex or sound hollow when you tap them, the backing’s probably shot. When more than 20% of tiles have problems, full replacement is usually the smarter move.
What are the essential steps to take before starting a repair on a kitchen backsplash?
First, turn off the power to any outlets in the area. Pop off outlet covers and switch plates so they don’t get damaged.
Give the backsplash a good cleaning so you can see what you’re dealing with. Take photos—trust me, it’s easy to forget how the pattern looked.
Check the wall behind damaged spots for softness or moisture. If the wall feels spongy, you’ll need drywall repair before you even think about tile.
Gather everything—matching tiles, grout, adhesive, tools—before you start. Running to the store mid-project is the worst.
At what point during a kitchen remodel should the backsplash be addressed?
Install the backsplash after you’ve put in the countertops, but before you hook up the plumbing for good. That way, you won’t risk chipping or cracking your new tiles when the heavy countertops go in.
Get all the electrical work done first—outlets, under-cabinet lighting, the whole deal. If you try to move wires or add outlets after you’ve finished the backsplash, you’ll just end up patching holes and cursing your past self.
Paint the walls and put up cabinets before you even think about tiling. Tile work is pretty much one of the last finishing touches in a kitchen remodel.
Try to schedule the backsplash installation at least a week before your final inspection. That gives the grout time to set and lets you fix any little issues that might pop up.
What are some common issues to look out for when inspecting an existing backsplash for potential repairs?
If you spot discolored grout lines, that usually means water’s getting behind the tiles. Dark spots or any sign of mold? Don’t wait—jump on it before it spreads.
Tiles that stick out from the wall are a red flag. The adhesive probably failed, and if you leave them, they’ll fall and might mess up the area around them.
Cracks along the edge where the backsplash meets the countertop let water sneak in. If you don’t seal them, things can go south pretty fast.
Loose tiles near the stove aren’t unusual. Heat makes materials expand and contract, so check those spots every so often—they’re under constant stress.
Which kitchen backsplash repairs are manageable as a DIY project for an amateur?
If you’ve got matching tiles, you can swap out a damaged one yourself. For small spots—think less than two square feet—it’s a decent DIY project.
You can also tackle regrouting if you’ve got some patience and basic tools. Even a small fix makes the backsplash look better and keeps water out.
See a tiny hole in the wall behind the backsplash? Grab some drywall compound and patch it up. Most folks can handle small wall repairs without much fuss.
Caulking along the edges? As long as you’ve got a steady hand, you’re good. Fresh caulk seals out water and tidies up the look, no fancy skills required.
What criteria should I use to decide whether to DIY a backsplash repair or hire a professional?
If your repair involves electrical work or plumbing connections, it’s best to call in a pro. Moving outlets or adding new wiring isn’t something you want to mess with—permits and real expertise matter here.
When the repair area is more than 10 square feet, things can get complicated fast. Pros just have the right tools and know-how to tackle big jobs quickly.
If you’re working with pricey materials like natural stone or handmade tiles, think twice before going DIY. One mistake with expensive tiles, and you’ll probably wish you’d hired someone who does this for a living.
Found water damage behind your tiles? That usually means there’s a bigger issue hiding out of sight. A professional can spot and fix those underlying problems—something a DIY fix might completely miss.
Author: William Darnell
Hey ya'll. I'm William but most call me Bill. I've been a handyman for almost 30 years now and as age has crept up, I've decided more time at the desk sharing my knowledge is a good way to spend my free time so here we are!


Leave a Reply