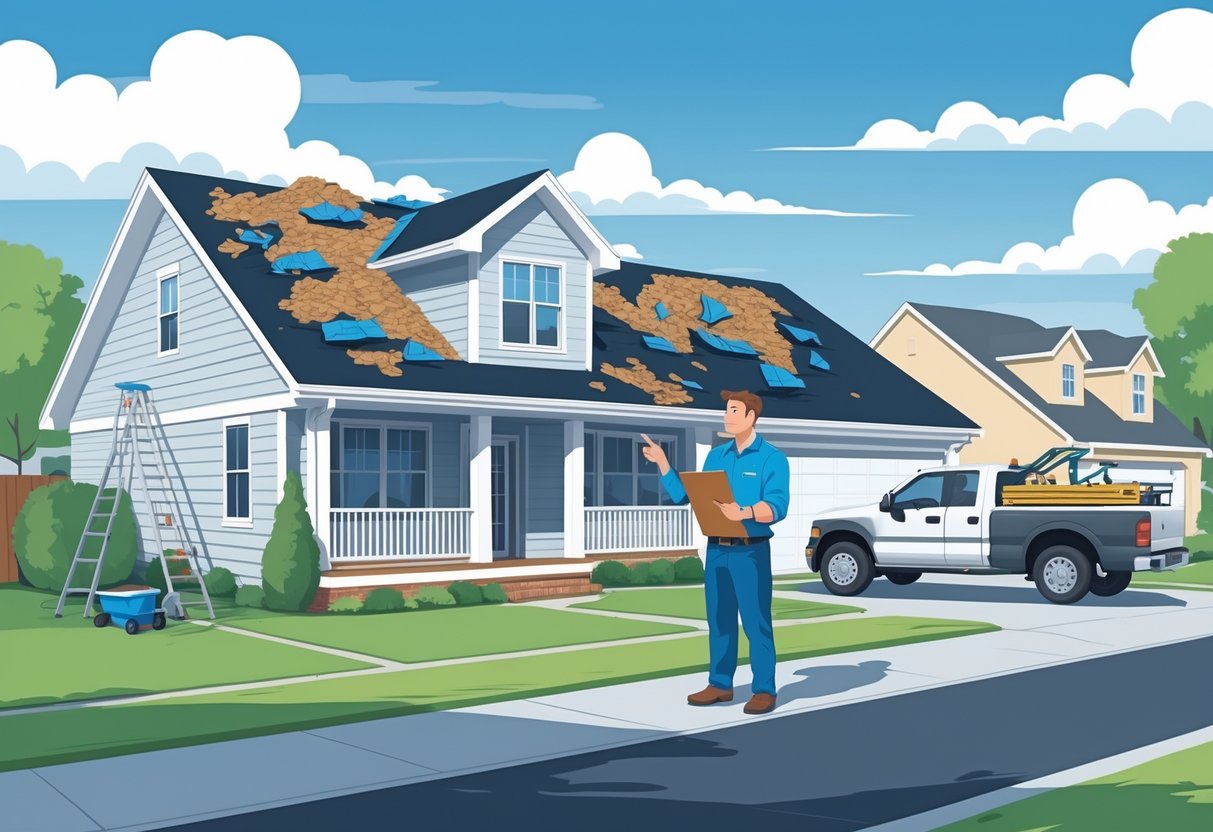
Hail can really mess up roofs, cars, and homes. A lot of people aren’t sure what to do right after a storm.
Honestly, your best move is to reach out to a trusted professional who knows the ins and outs of inspections, repairs, and navigating the insurance maze.

Moving quickly can help you avoid bigger headaches and extra costs. Picking the right expert just makes the whole repair process less stressful.
Key Takeaways
- Always assess and record damage before calling for repairs.
- Understand your insurance and get several repair estimates.
- Choose qualified professionals to handle repairs and future prevention.
Assessing and Documenting Hail Damage
Right after a hailstorm, check your roof, the outside of your house, and even inside rooms for damage. Taking good notes and photos is a lifesaver when you’re talking to pros or your insurance company.
Need a Home Fix – Emergency or Routine?
From leaks and no-heat nights to simple tune-ups, our 24/7 hotline connects you with trusted local pros in minutes.
Identifying Signs of Hail Damage
Hail damage shows up in all sorts of ways depending on where you look. On the roof, you might see cracked or missing shingles, bruises, or tiny dents in metal parts.
There could be chipped paint or dark marks on shingles—sometimes it’s just cosmetic, but it can be a clue. Skylights, vents, and gutters are worth a close look, since hail seems to love hitting those spots first.
Siding and windows aren’t safe either; dents, cracks, or even broken screens pop up. If your patio furniture or car took a beating, chances are your house did too.
The tricky thing? Not all the damage screams for attention right away. Sometimes it takes a while for leaks or other issues to show up, so a careful check matters.
Inspecting Roof, Exterior, and Interior
Be careful out there—safety should always come first. If you can, use binoculars from the ground to check the roof instead of climbing up (seriously, it’s risky on a damaged roof).
Look for things like lifted shingles, holes, or piles of granules at the bottom of your downspouts. That last one’s a sneaky sign of roof trouble.
Check the siding for cracks and chips, and take a look at gutters and flashing for dents or bends. Even door and window frames can get chipped or marked up.
Inside, peek at ceilings and the attic for water stains, peeling paint, or any hints of leaks. If you’re feeling unsure or it’s not safe, maybe just wait for a professional to do a full inspection.
Taking Clear Photos and Notes
Good documentation makes life so much easier with insurance or contractors. Snap clear, close-up photos of every issue, and make sure your camera or phone has the date set right.
Try to get shots from a few angles—roof, siding, gutters, whatever looks off. Then jot down a list or make a simple table of what’s damaged and where.
| Area | Type of Damage | Notes |
|---|---|---|
| Roof – back slope | Cracked shingles | 3 shingles missing |
| Gutter – front | Dented and bent | Multiple dents, paint scraped |
| Living room ceiling | Water stain | 12-inch yellow circle |
Add the date of the storm and any changes you notice over time. Trust me, this stuff will help you later with claims and getting accurate estimates.
Understanding Your Insurance Policy

Let’s be honest—insurance policies are confusing, but you’ve got to know what’s actually covered. Figuring out what’s paid for, what’s not, and what sneaky exceptions exist can save you from nasty surprises.
Reviewing Policy Coverage and Exclusions
Dig into your homeowners or auto policy to see what kind of hail damage it covers. Usually, it’ll include roofs, siding, windows, and maybe your car.
Watch out for the fine print, though. Some policies treat cosmetic damage differently from structural issues, and exclusions can be a pain—like not covering old damage or stuff you didn’t maintain.
Some things, like electronics or other personal property, might need extra coverage. Make a checklist so you know what’s in and what’s out:
| Covered Typical Items | Common Exclusions |
|---|---|
| Roof repair | Old or pre-existing |
| Window replacement | Cosmetic only |
| Vehicle hail dents | Lack of maintenance |
Honestly, reading the whole policy or just calling your agent for straight answers is usually worth it.
Deductibles and Hurricane Deductibles Explained
Before you file a claim, know your deductible. That’s the chunk you pay before insurance kicks in.
It could be a set dollar amount or a percentage of your home’s value—sometimes it’s surprisingly high. In certain states, there are even special hurricane deductibles that only apply if a named storm did the damage.
Car insurance is a little different. Hail falls under the comprehensive deductible, so you’ll pay that before your policy helps with repairs.
Check your policy’s declaration page or just ask your agent if you’re not sure. Keeping a list or chart of these details can help you keep things straight.
Filing an Insurance Claim After Hail Damage
Filing an insurance claim after hail can feel overwhelming, but acting quickly is key. Things like fast reporting, meeting adjusters, and keeping tabs on the process really do matter.
When and How to File a Claim
Don’t wait—file your claim as soon as you spot hail damage. Most policies want you to report damage right away, or you risk headaches (or even a denied claim).
Here’s a simple rundown:
- Read your policy. Know what’s covered for hail.
- Gather proof. Take photos, write down the storm date, and hang onto any news clippings or reports.
- Contact insurance. Call or use their website, and give your policy number plus all the details.
- Keep everything. Save every letter or email you get from them.
Just be honest—stretching the truth can get your claim denied, and nobody wants that.
Working With an Insurance Adjuster
The adjuster is the one who checks out the damage and figures out what the insurance will pay. They’ll usually want to see the property in person.
Here’s how to get ready:
- Be there for the inspection if you can swing it.
- Point out everything—even the small stuff.
- Hand over your photos and any notes you have.
- Don’t be afraid to ask questions if something’s not clear.
Write down what they tell you and get their contact info. If you don’t agree with them, you can ask for another look or bring in an independent pro.
Understanding the Claims Process Timeline
Every insurance company is a little different, but most claims wrap up within a few weeks to a couple of months. Here’s what usually happens:
| Step | What Happens |
|---|---|
| File claim | You report the damage. |
| Adjuster visit | Inspection of the damage. |
| Claim review | Company reviews info and policy. |
| Settlement | Money is approved and paid. |
Delays can pop up if paperwork is missing or if there are questions about the damage. Stay on top of things—reply quickly, check your claim status online, and keep notes on every conversation. If it’s dragging out, ask for an update and jot down who you spoke with.
Getting Repair Estimates From Professionals
Working with skilled contractors is a must when you’re dealing with hail damage. Before anyone starts swinging a hammer, get written estimates for the repairs.
Choosing Reputable Roofing Contractors
Look for pros with real licenses, insurance, and a solid rep. Read customer reviews on Google or the BBB, and ask your neighbors or friends who they trust.
Try to talk to at least three contractors. Before you let anyone on your roof, double-check they’re insured and certified for your area.
If someone uses high-pressure tactics or wants you to sign something right away, walk away. The good ones explain everything—materials, costs, timelines—without the hard sell.
Comparing Multiple Estimates
Get your estimates in writing—don’t settle for a handshake deal. Each one should spell out the damage, materials, labor, cleanup, how long it’ll take, and if it’s a repair or a full roof replacement.
Organize what you get in a table like this:
| Contractor Name | Estimated Cost | Materials | Labor Warranty | Completion Time |
|---|---|---|---|---|
| Company A | $5,500 | Asphalt | 5 years | 6 days |
| Company B | $6,000 | Metal | 10 years | 7 days |
| Company C | $5,700 | Asphalt | 7 years | 6 days |
Don’t just grab the lowest price—read what’s included. Check the warranty, make sure you understand the work, and ask for plain language explanations. Sometimes, value beats a bargain.
Selecting the Right Professional for Repairs

A reputable contractor needs to have proper credentials, insurance, and a few solid references. Knowing what to look for can help you avoid headaches (and extra costs) down the road.
Verifying Credentials and Insurance
Check that the roofing contractor has a valid license in your area. Some states or cities are picky about this, and the license is proof they meet local standards.
Ask for proof of liability insurance and workers’ comp. That way, you’re not left responsible if someone gets hurt or something goes wrong. If a contractor dodges this request, honestly, that’s a red flag.
It’s also worth seeing if they’re part of groups like the National Roofing Contractors Association (NRCA). Membership usually means higher standards and better training. Jot down at least three contractors to reach out to and compare what they offer before jumping in.
Reading Reviews and References
Browse reviews on places like Google, BBB, or Yelp. Look for patterns—reliability, communication, and the quality of their work matter more than a few glowing one-liners.
Be wary if you only see a handful of reviews or a flurry of complaints. Ask each contractor for three references from past clients. Actually follow up—call or email and ask about their experience, professionalism, and how long the project took.
If you can, check out photos of the contractor’s finished work. Reviews and references together give you a more honest picture of what you’re getting into.
Managing Roof and Property Repairs
After hail or storm damage, having a plan makes life easier. It helps with insurance claims and gets you through repairs or roof replacement faster.
Coordinating With the Insurance Company
As soon as you spot roof damage, let your insurance company know. They’ll usually send an adjuster to check things out and decide what’s covered.
Keep records—photos, repair estimates, the works. Share these with the adjuster. The more details, the better.
Tip:
- Make a list of every damaged area (roof, siding, windows, whatever).
- Hang onto receipts and jot down notes from phone calls.
Insurance might pay for repairs or a full replacement, depending on the roof’s age and shape. Double-check your policy for coverage limits and deductibles.
Stay in touch with both your insurance company and the contractor. It’s easy for wires to get crossed if you don’t keep everyone in the loop.
Final Inspection and Project Completion
When the repairs or roof replacement are done, walk through the work with your contractor. Keep an eye out for missed spots—loose shingles, unfinished gutters, that sort of thing.
Checklist for final inspection:
- All shingles or panels are actually secured.
- Gutters, vents, and flashing look right and are installed properly.
- No piles of nails or debris left behind.
Ask for a copy of the warranty or any paperwork for the repair work. Snap some final photos for your records.
Make sure cleanup’s finished before you hand over the last payment. If the storm hit more than just the roof, check that everything you agreed on is done.
Preventing Future Hail and Storm Damage
Keeping hail and wind from wrecking your home again takes a little strategy. Good maintenance and smarter material choices go a long way (and save money in the end).
Home Maintenance Practices
Regular checks are key—catching issues before a storm hits is way easier than fixing them after. Inspect your roof at least twice a year, and always after a big hailstorm.
Look for missing shingles, loose flashing, or beat-up gutters. Clean gutters and downspouts so water doesn’t pool up and cause more problems.
Trim back tree branches that hang over your roof. You don’t want them snapping off in a storm. Make sure windows and doors are sealed well, and fix any cracks or broken glass.
Secure loose siding and tie down outdoor stuff like grills or patio chairs. Here’s a quick checklist:
- Inspect and repair the roof
- Keep gutters clean
- Trim trees near the house
- Fix up doors, windows, and siding
- Secure anything outside that could blow away
Upgrading to Impact-Resistant Materials
If you’re planning upgrades, consider impact-resistant roofing and siding. Things like Class 4 asphalt shingles, metal roofing, or polymer shakes hold up better against hail and strong winds.
These materials are rated for toughness and tend to last longer. For windows, double-paned or shatter-resistant glass is a smart move, and storm shutters add even more protection.
Some insurance companies even offer discounts if you upgrade to impact-resistant products, which could save you a bit over time. Here’s a quick look at roofing options:
| Material | Hail Resistance | Life Span | Cost |
|---|---|---|---|
| Standard Asphalt | Low | 15–20 years | $ |
| Class 4 Asphalt | High | 20–30 years | $$ |
| Metal Roofing | High | 40–70 years | $$ |
| Polymer Shakes | High | 30–50 years | $$ |
These upgrades do cost more up front, but they can really save you from headaches—and repair bills—after the next storm.
Frequently Asked Questions
People have a lot of questions about insurance claims, timelines, and dealing with adjusters after hail damages a car. It’s a confusing process, honestly, and knowing what to expect makes things smoother.
How do you file an insurance claim for hail damage on a car?
First, check if your policy covers hail damage. Take clear photos from a few angles—don’t skimp on the details.
Contact your insurance company to start the claim. They’ll want those photos and details, and might send an adjuster to look at the car.
What are the time limits for filing a hail damage claim with insurance companies?
Most insurers want you to file within 30 to 60 days of the hail event. Some policies give you more time, but always check your documents.
Filing quickly helps your claim go through without hiccups.
What should you know about the process of an insurance claim for hail damage?
After you file, an adjuster will check out the damage and decide what repairs are needed. Your insurer might suggest repair shops, but you can usually pick your own.
Hang onto all your repair receipts and photos. Approval and payment times… well, they vary a lot.
How do you effectively communicate with an insurance adjuster for hail damage?
Stay calm and polite—no need to get worked up. Answer their questions honestly, but don’t feel pressured to add extra details.
Give them whatever documents, photos, and receipts they ask for. If something’s unclear, ask for an explanation. Keep a written record of every conversation.
When is it advisable to contact your insurance company following a hail storm?
Call your insurance company as soon as possible after the hail storm. Don’t wait until repairs are done.
The sooner you report, the easier it is to prove damage and move your claim along.
What are some tips for negotiating your hail damage claim with an insurer?
If the offer seems low, ask the adjuster why they landed on that number. Sometimes their reasoning just doesn’t add up, so don’t be afraid to push back a little.
Gather repair shop estimates or get a second opinion—these can help back up your case. Keep your documents and photos in order; you’ll want them handy.
Try to keep things professional, even if you’re frustrated. If you hit a wall, ask for a supervisor or consider getting advice from someone outside the company.


Leave a Reply