A burst pipe can cause serious damage in just minutes. Act quickly—shut off your main water supply right away to stop the flow and limit flooding.
This single step might save your floors, walls, and belongings from getting soaked. It really can prevent hundreds of gallons of water from spreading everywhere.
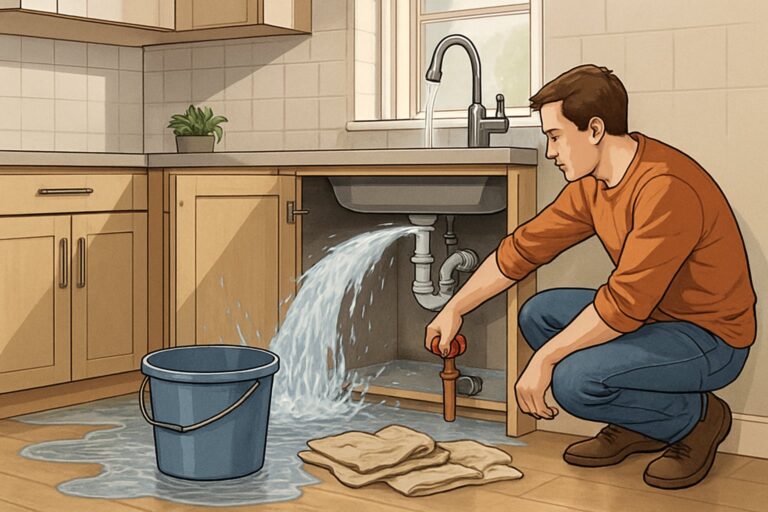
Once you shut off the water, focus on reducing the impact. Open a faucet to release pressure in the pipes.
Start removing any standing water with towels, buckets, or a wet/dry vacuum. The faster you clear it out, the lower the risk of mold and structural damage.
Need a Home Fix – Emergency or Routine?
From leaks and no-heat nights to simple tune-ups, our 24/7 hotline connects you with trusted local pros in minutes.
While you wait for the plumber, take simple steps to control the chaos. Keep affected areas warm and let air circulate.
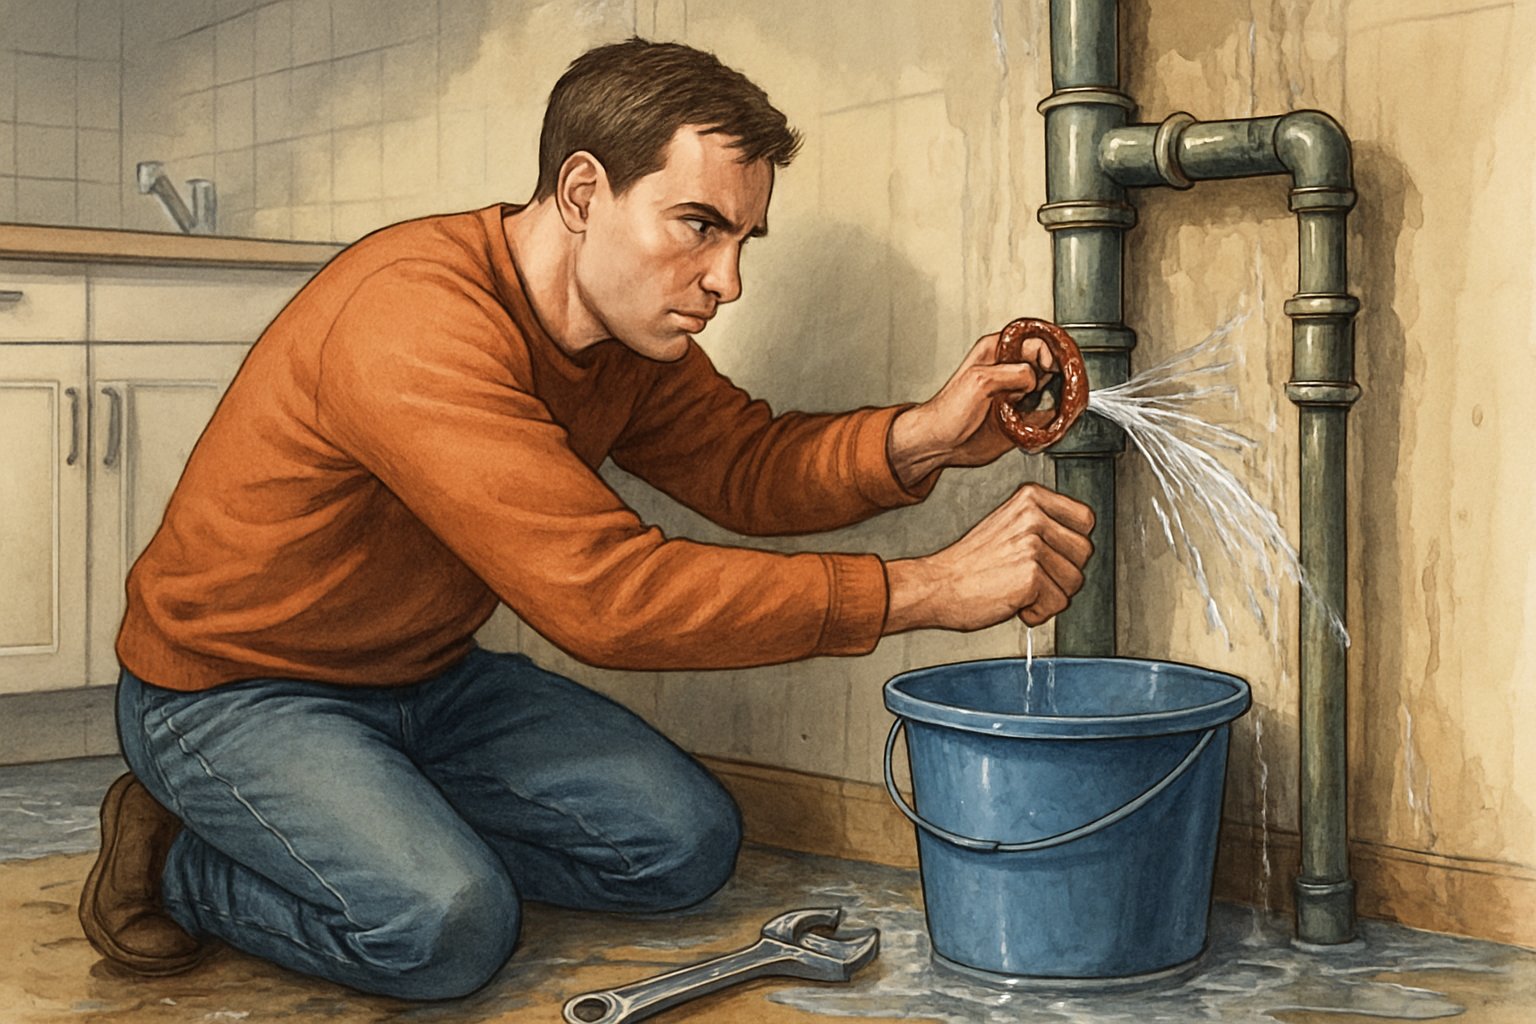
If you can, slap on a temporary patch to the damaged section. None of this is perfect, but it buys you time and protects your home from getting worse.
Key Takeaways
Act fast to stop water flow and reduce damage
Remove standing water and improve airflow
Take temporary measures while waiting for repairs
Recognizing a Burst Pipe Emergency
A burst pipe can dump a lot of water fast, damaging walls, floors, and your stuff. Spotting the signs early helps you act fast and limit the mess.
Common Signs of a Burst Pipe
You might notice a sudden drop in water pressure at your taps or shower. That often means water’s escaping somewhere.
Watch for unexplained water pooling on floors, ceilings, or walls. Damp patches, stains, or bubbling paint and wallpaper are classic red flags.
Unusual noises—like banging or whistling when you use water—can mean a damaged pipe. If your water bill jumps for no reason, you could have a hidden leak.
In winter, frozen pipes sometimes split and leak as they thaw. Check basements, crawl spaces, and exterior walls for trouble spots.
Causes of Pipe Bursts
High water pressure is a big culprit. When pressure gets too high, pipes weaken and sometimes just give out.
Freezing temperatures can make water inside pipes expand, which leads to cracks or full breaks when the ice melts.
Pipes get old and corroded, especially galvanized steel. Over the years, rust can make them brittle and ready to fail.
Poor installation, shifting soil, or accidental damage during home repairs can also cause bursts. Even a small crack can turn into a big problem under pressure.
Cause
Common Risk Areas
Prevention Tip
High water pressure
Entire plumbing system
Install a pressure regulator
Frozen pipes
Exterior walls, unheated spaces
Insulate exposed pipes
Corrosion/aging
Older homes, metal piping
Replace outdated plumbing
How to Confirm a Pipe Has Burst
Turn off your main water supply to cut off further flooding. Then check visible pipes for cracks, splits, or spraying water.
If you can’t see the damage, listen for running water when all taps are off. Check your water meter—if it’s still moving, water’s leaking somewhere.
Look at ceilings, walls, and floors for new damp spots. In basements or crawl spaces, use a flashlight to hunt for drips or pooling water.
If you can’t find the source but you’re suspicious, treat it as a plumbing emergency and call a licensed plumber right away.
Immediate Actions to Take
Acting fast can reduce damage and keep things safer. Stopping the water, dealing with electrical hazards, and draining the pipes are your first moves before repairs.
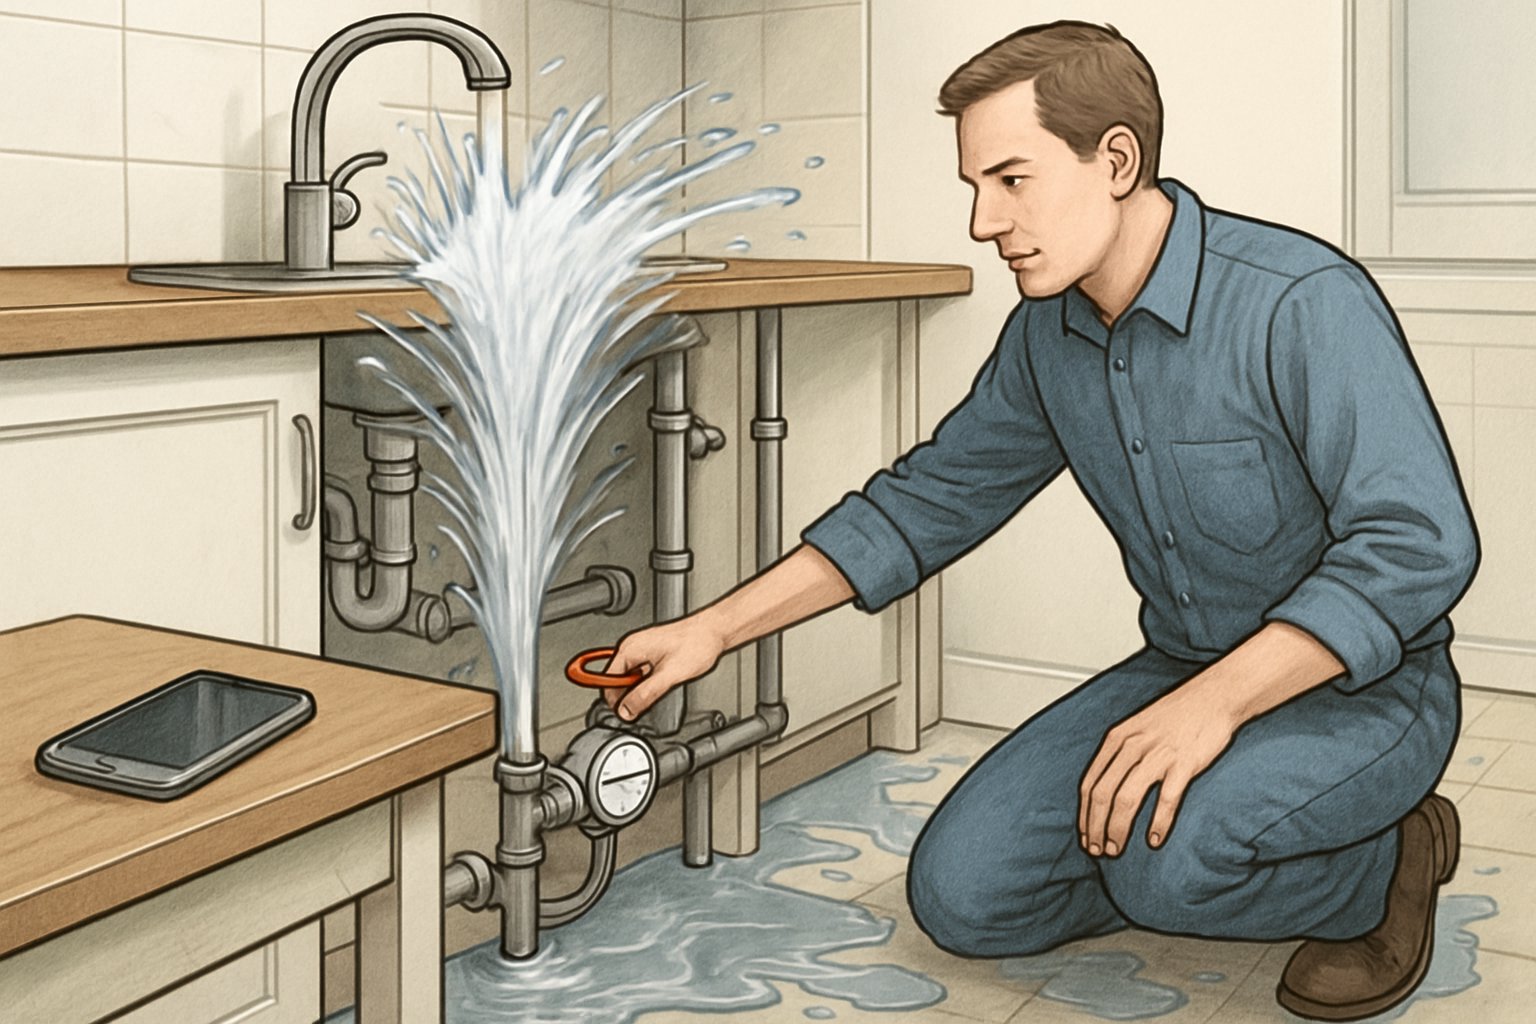
Shut Off the Main Water Supply
Find your main shut-off valve as soon as you spot trouble. You’ll usually find it near the water meter, in a basement, crawl space, or on an exterior wall.
Turn the valve clockwise until it stops. That’ll stop water from flowing into the damaged pipe and prevent more flooding.
If you live in an apartment, the shut-off might be in a utility room or hallway. Can’t find it? Call building maintenance right away.
Keep a flashlight handy in case the valve’s in a dark spot. Marking the valve’s location ahead of time can really help in a pinch.
Turn Off Electricity in Affected Areas
Water and electricity together? Not good. Before you step into a wet area, check if outlets or appliances are exposed to water.
Go to your circuit breaker panel and switch off power to wet rooms. If you see water near the panel or have to stand in water to reach it, don’t touch it—call an electrician.
Shutting off electricity in these areas reduces shock risks and protects your appliances. This is crucial if water’s near the kitchen, laundry, or basement utilities.
Label your breakers ahead of time so you’re not scrambling during an emergency.
Drain the Pipes
Once you’ve shut off the water, drain the pipes to relieve pressure and clear out any water inside.
Open all cold-water faucets, starting at the lowest level and moving up. This lets water flow out instead of sitting in the pipes.
Flush toilets to empty their tanks. If you can, open outdoor spigots too.
This step limits more leaks and makes repairs easier. It also helps prevent extra water from spilling if the damaged pipe shifts or worsens.
Containing Water Damage
Acting quickly can keep water from spreading and save you from expensive repairs. Protect your stuff by moving it out of wet areas, clearing up water, and recording the damage for insurance.
Move Belongings and Valuables
Move furniture, electronics, and important papers away from wet spots. Even a little water can warp wood, stain fabric, or mess up electronics.
Put smaller items on shelves or in another room. For heavy furniture, use blocks or aluminum foil under the legs to lift them off the floor.
If water’s near electrical outlets or appliances, cut the power before moving anything. Safety first—no one wants a shock.
Keep items dry and aired out to prevent mold.
Remove Standing Water
Standing water ruins floors, weakens subfloors, and seeps into walls. Grab a wet/dry vacuum to suck up as much as you can.
For smaller puddles, mops, towels, and buckets work fine. Start from the edges and push water toward the center to keep it contained.
If carpets are soaked, pull them back from the padding to let air in. Padding usually needs to go if it’s been really wet.
Try not to push water into wall cavities or under baseboards. That just hides the damage and makes things worse later.
Document the Damage
Before you get deep into cleanup, take photos and videos of everything that’s wet or damaged. Get wide shots of rooms and close-ups of ruined stuff.
Make a list of damaged items—write down the brand, model, and what you think they’re worth. This helps with your insurance claim and can speed things up.
Hang onto receipts for any cleanup supplies or emergency repairs. Your insurance might cover these if they’re related to the burst.
Keep all records in a safe, dry place—or better yet, save them digitally so you don’t lose them.
Drying and Ventilating the Area
Getting rid of excess moisture fast helps protect floors, walls, and your stuff. Good airflow and humidity control keep mold and mildew from taking over after a burst pipe.
Use Fans and Dehumidifiers
Set up box fans or oscillating fans near the wet area to keep air moving. Aim them toward open windows or doors if you can.
If it’s dry outside, open windows for ventilation. If it’s humid, keep windows closed and rely on fans and dehumidifiers.
A portable dehumidifier helps pull moisture from the air. Empty the tank often or hook up a hose for constant drainage.
For big messes, rent a commercial-grade dehumidifier. These work faster and handle larger areas.
Check under furniture, rugs, and baseboards for hidden damp spots. Move stuff away so air can reach everywhere.
Prevent Mold and Mildew Growth
Mold can start in as little as 24–48 hours on damp surfaces. Keep humidity below 50% to stop it from growing.
Use a hygrometer to check indoor humidity. If it stays high, run the dehumidifier until things level out.
Clean hard surfaces with mild detergent and warm water to wipe away early mildew. Dry them right after cleaning.
For fabrics and carpets, use a wet/dry vacuum and then hit them with fans. If they’re still damp after two days, you might need professional cleaning.
Don’t seal up wet walls or floors with paint or coverings. That traps moisture and gives mold a cozy place to grow.
Contacting Professional Help
Getting a plumber on-site quickly can really limit the damage and make sure repairs are safe and up to code. Clear communication and fast action help the emergency plumbing team respond more effectively.
When to Call an Emergency Plumber
Call an emergency plumber as soon as you’ve stopped the water flow and dealt with any immediate safety issues, like electricity near the leak.
If water’s still getting out—even just a trickle—don’t wait. Acting fast can really cut down the risk of big-time damage or mold.
Usually, you’ll need emergency plumbing services if you’re dealing with:
A pipe that’s burst or leaking a lot.
Water getting into electrical systems or appliances.
Flooding in your basement, crawl space, or living areas.
No water at all after you shut off the main valve.
Pick a licensed plumber who’s available 24/7. Keep their number handy—fridge magnet, phone, whatever works. If you’re renting, let your landlord know right after you call the plumber.
When you call, share details like where the pipe is, how much water’s leaked, and what you’ve already tried.
What to Expect from the Plumber
An emergency plumbing service usually sends someone with the tools and parts they’ll need for repairs—temporary or permanent.
The plumber will check that the water’s off and look at the damage. Sometimes they’ll use moisture meters to find hidden leaks or water inside the walls. Kinda clever, honestly.
If they can get to the pipe, they might just swap out the busted section right then. Trickier jobs might get a quick patch to stop the leak until they can do a full repair.
They’ll walk you through your options, the price, and how long it’ll take before starting. A licensed plumber can give you tips on how to avoid future pipe bursts, like adding insulation or swapping out old pipes.
If you ask, they might even document the damage for insurance. That can make claims a lot less painful later.
Preventing Future Pipe Bursts
Cold snaps, high water pressure, and just ignoring your plumbing—these are the usual culprits behind burst pipes. You can lower the odds by protecting exposed pipes, keeping water pressure in check, and getting a pro to look things over now and then.
Insulate and Maintain Pipes
Pipes in places like basements, crawl spaces, garages, and outside walls freeze up the fastest. Throw some foam pipe insulation or heat tape on them to help keep things above freezing.
Seal up any cracks or gaps near pipes so cold air can’t sneak in. Even a tiny draft can freeze a pipe when the weather’s wild.
Check your insulation now and then for any rips or soggy spots. Swap it out if it’s looking rough.
If you’re somewhere cold, open cabinet doors under sinks during freezes so warm air gets in. Let faucets drip a bit—keeps the water moving and less likely to freeze.
Regular plumbing maintenance—tightening loose stuff, replacing worn pipes—helps stop weak spots from splitting under pressure.
Monitor and Regulate Water Pressure
Too much water pressure puts a ton of stress on pipes and joints. Over time, that can mean leaks or bursts. Most homes should stick to 40–60 psi.
Grab a cheap pressure gauge and test an outdoor spigot. If it’s too high, get a pressure regulator installed to keep things safe.
Regulators don’t last forever. Check yours once a year and swap it out if it won’t hold steady pressure.
If you suddenly see your pressure spike or drop, it might be a problem with your city’s supply or a blockage. Better get a plumber in before things get worse.
Schedule Regular Plumbing Inspections
A plumbing inspection can catch early warning signs before they spiral into a big headache. Licensed plumbers look for corrosion, leaks, loose fittings, and worn seals.
They’ll also test the water pressure and check how well your pipes are insulated. Sometimes, they poke around in crawl spaces or behind walls—those hidden spots most of us never see.
For most homes, getting an inspection once a year usually does the trick. If you’ve got an older place or live somewhere with wild weather, you might want to do this every six months instead.
Hang onto records from every inspection, jotting down any repairs or upgrades. You’ll thank yourself later when it’s time to figure out what needs fixing or replacing.
Hey ya'll. I'm William but most call me Bill. I've been a handyman for almost 30 years now and as age has crept up, I've decided more time at the desk sharing my knowledge is a good way to spend my free time so here we are!


Leave a Reply